When your garment's lining starts to fray or sag, it's easy to think it’s time to retire a favorite piece. But, with some basic knowledge and the right tools, you can restore comfort and structure to almost any interior fabric. Knowing what to look for and how to fix it makes all the difference—especially if you want your clothing to last. Let’s break down where to start when tackling lining repairs.
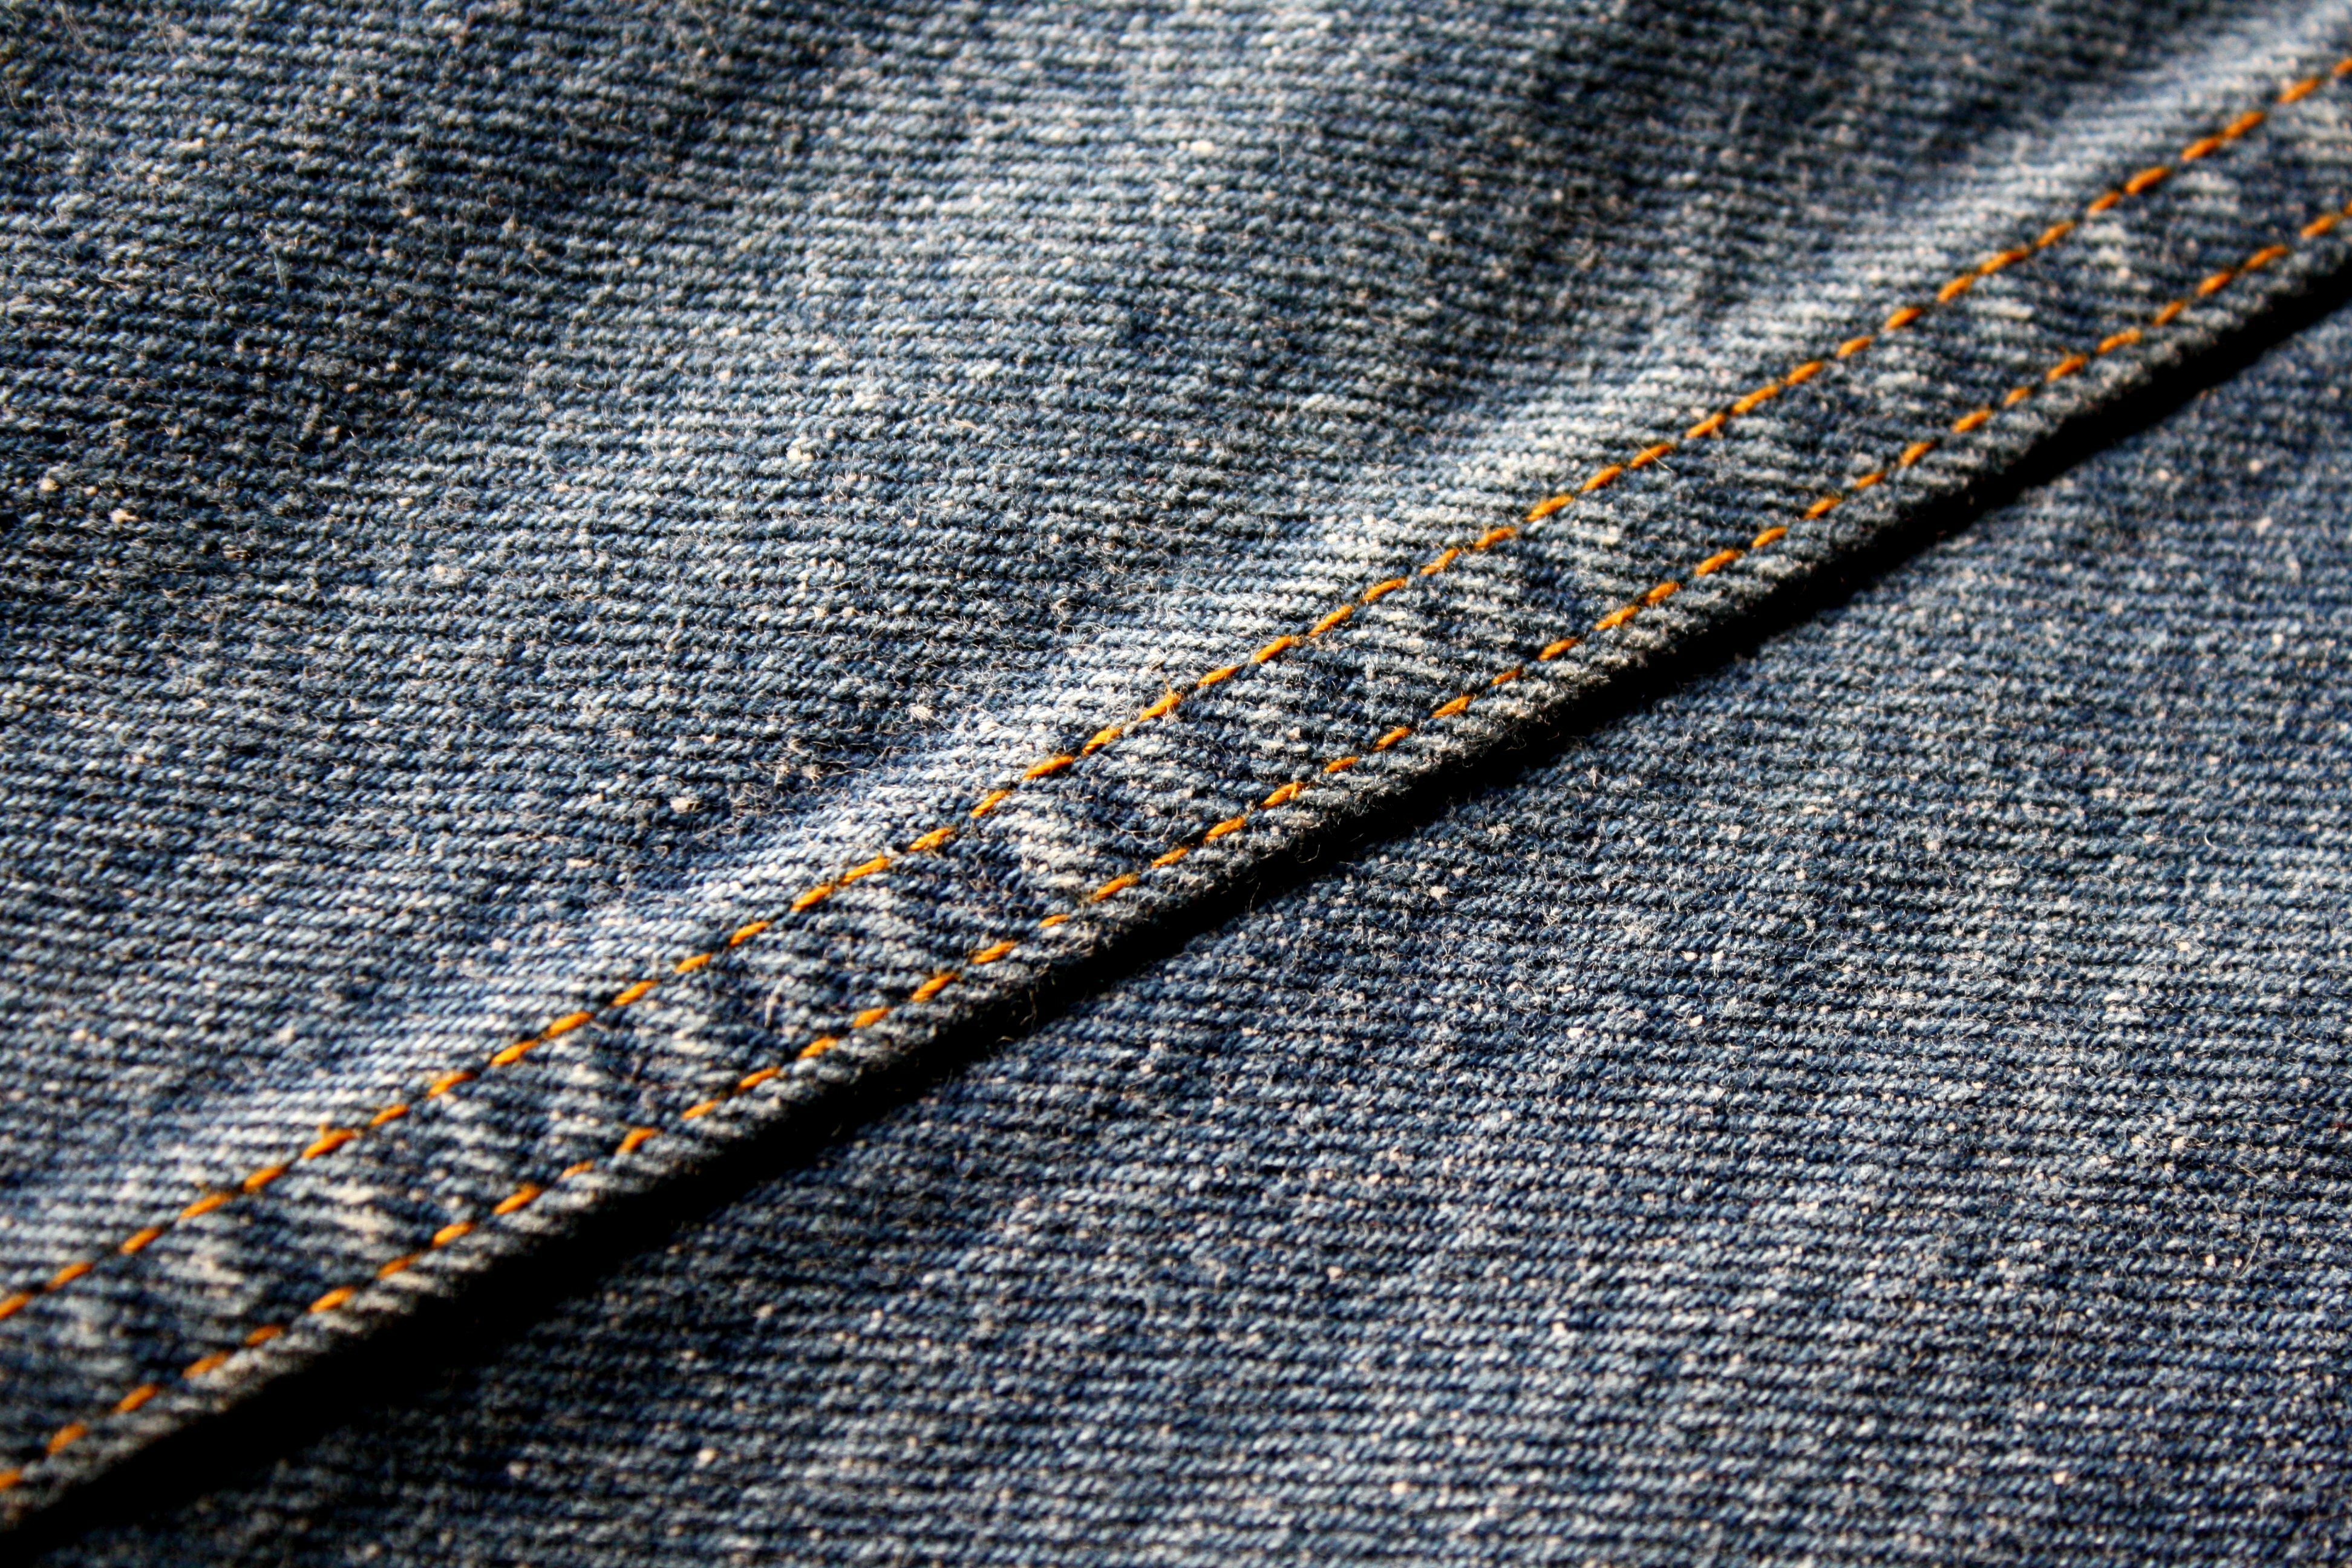
Lining damage can manifest in various forms, such as frayed edges, tears, and separation from the outer fabric. Common indicators include loose threads and small holes, particularly in areas near seams and hems, which may occur due to repeated washing, frequent use, or contact with rough materials.
Delicate fabrics necessitate meticulous examination; signs of damage may include uneven stitching, bunching, or deterioration in specific areas where friction occurs. In some cases, linings may detach along the edges, requiring temporary measures for stabilization, such as using tape or clips, prior to permanent repairs through sewing.
When addressing excess fabric, it is advisable to trim carefully or employ pinking shears to prevent further fraying of the seam. For temporary solutions, a needle may be used for stabilization, or hand sewing techniques can reinforce the area to restore integrity to the garment.
It is essential to approach these repairs with precision to ensure durability and maintain the overall aesthetic of the item.
A successful lining repair requires a well-selected array of tools and materials to achieve both precision and a polished finish. Essential items include tailor scissors for cutting, pinking shears for trimming excess fabric to reduce frayed edges, and a seam ripper for the careful removal of torn or damaged lining.
It is important to choose the correct needle and thread—typically, polyester thread is preferred due to its strength and flexibility, and it should match the lining of the garment.
Additionally, having a scrap piece of new fabric on hand can facilitate quick repairs. For delicate fabrics that require added strength, fabric glue or tape can be useful. Temporary clips can hold the fabric in place while you work, and a steam iron can assist in pressing seams along the edge or hem for a neater appearance.
When hand sewing, it is advisable to avoid pulling stitches excessively, employing back-and-forth movements instead to ensure consistency and durability in the repair. This approach not only reinforces the lining but also contributes to the overall longevity of the garment.
To begin the process of repairing the interior lining of a garment, it is essential to turn the garment inside out to allow for full visibility of the damaged areas. A thorough inspection of the fabric should be conducted, specifically looking for loose threads, frayed edges, and small torn spots, as these issues frequently occur concurrently due to fabric wear and tear.
It is advisable to use a fabric marker to mark each area that requires repair; this practice helps to ensure that all issues, particularly those along the seams or hems, are identified and addressed.
Upon identifying the areas needing attention, it is important to assemble a sewing kit that includes matching thread, a needle, scissors, and clips. The clips are useful for holding the fabric in place during the repair process. Any excess fabric or frayed edges should be trimmed using pinking shears to help prevent further unraveling.
If the garment is made of delicate fabric, it is recommended to pre-wash it before proceeding with repairs. Following the wash, pressing the fabric firmly with an iron will prepare it for the sewing process by providing a smooth working surface.
Such measures contribute to a more effective and aesthetically pleasing repair outcome.
When addressing a lining repair, the initial step involves the careful removal of the damaged section using a seam ripper. It is essential to exercise caution during this process to avoid damaging the garment's exterior.
After removing the lining, trim any excess fabric and eliminate loose threads to prepare for the new lining.
Next, measure and cut a new lining from a fabric that closely matches the original. It is advisable to cut the new piece slightly larger than the section being replaced; this approach provides additional strength and durability, especially in response to repeated washing and daily wear.
To secure the new lining in place, use pins or clips to align it appropriately along the edge of the garment. The actual sewing can be performed either by hand using a needle or with a sewing machine, ensuring that the thread and stitching method chosen are suitable for the fabric in question.
For fabrics that are prone to fraying, it is recommended to use pinking shears on the edges of the new lining. This technique helps to minimize the potential for fraying over time.
Finally, pressing the area with an iron after sewing will create a smooth and polished finish, contributing to an overall professional appearance.
Regular inspection of the interiors of garments is essential for preserving the integrity of linings. This practice enables the identification of potential issues, such as loose threads, frayed edges, or torn fabric, which may worsen if left unaddressed.
Small repairs can be effectively managed using a needle and thread or sewing machine. When making these repairs, it is advisable to stitch slightly beyond the original seam to enhance durability.
For garments made from delicate fabrics, hand-stitching is recommended, particularly using a back-and-forth stitch technique, or employing fabric tape to secure damages. This approach mitigates the risk of causing further harm to the lining.
In cases where a hem has fallen, temporary stabilization with clips is practical, followed by repair using either traditional stitching or fabric glue.
Additionally, it is important to trim any excess fabric after repairs using pinking shears, which can help prevent fraying. Proper storage of new clothing items is also crucial in minimizing wear and tear over time.
By adhering to these maintenance tips, the longevity of garment linings can be substantially improved.
Repairing your garment’s lining isn’t just about looks—it’s about extending the life and comfort of your favorite clothes. By knowing how to identify damage, having the right tools, and following careful steps, you can fix most interior issues at home. Regular inspections and proper care will help you avoid bigger problems down the road. With these tips, you’ll keep your wardrobe in top shape, saving both money and your cherished pieces for years to come.
 Dark Blue Denim Bowtie $19.99
 Light Acid Wash Bowtie $19.99
